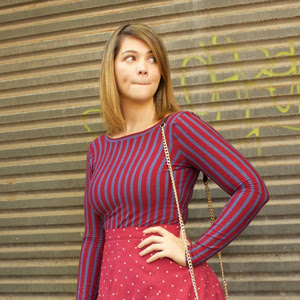
In order to keep the boxy shape of the Marc Jacobs Shirt I decided to use thicker/more dense stretch fabrics, both of which I got from Tessuti (#notsponsored) and both of which didn't really have that much stretch. To compensate for the lack of stretch I cut one size large than my recommended size.
THE HACK!
This hack was so straight forward I don't think the process really even needs mentioning but hey! while I'm at it why not.

1) The first thing I needed to do was determine how far down I wanted the bust seam to be, so I quite literally held the pattern against myself and marked in pencil the seam line.
2) I drew and cut a straight line, at a right angle form the foldline edge.
3) At this point you COULD trace around each pattern piece (bust panel and lower body panel), adding a 1cm seam allowance to each new edge, but if you're lazy like me and go straight into cutting your fabric, just remember to cut the additional 1cm seam allowance.
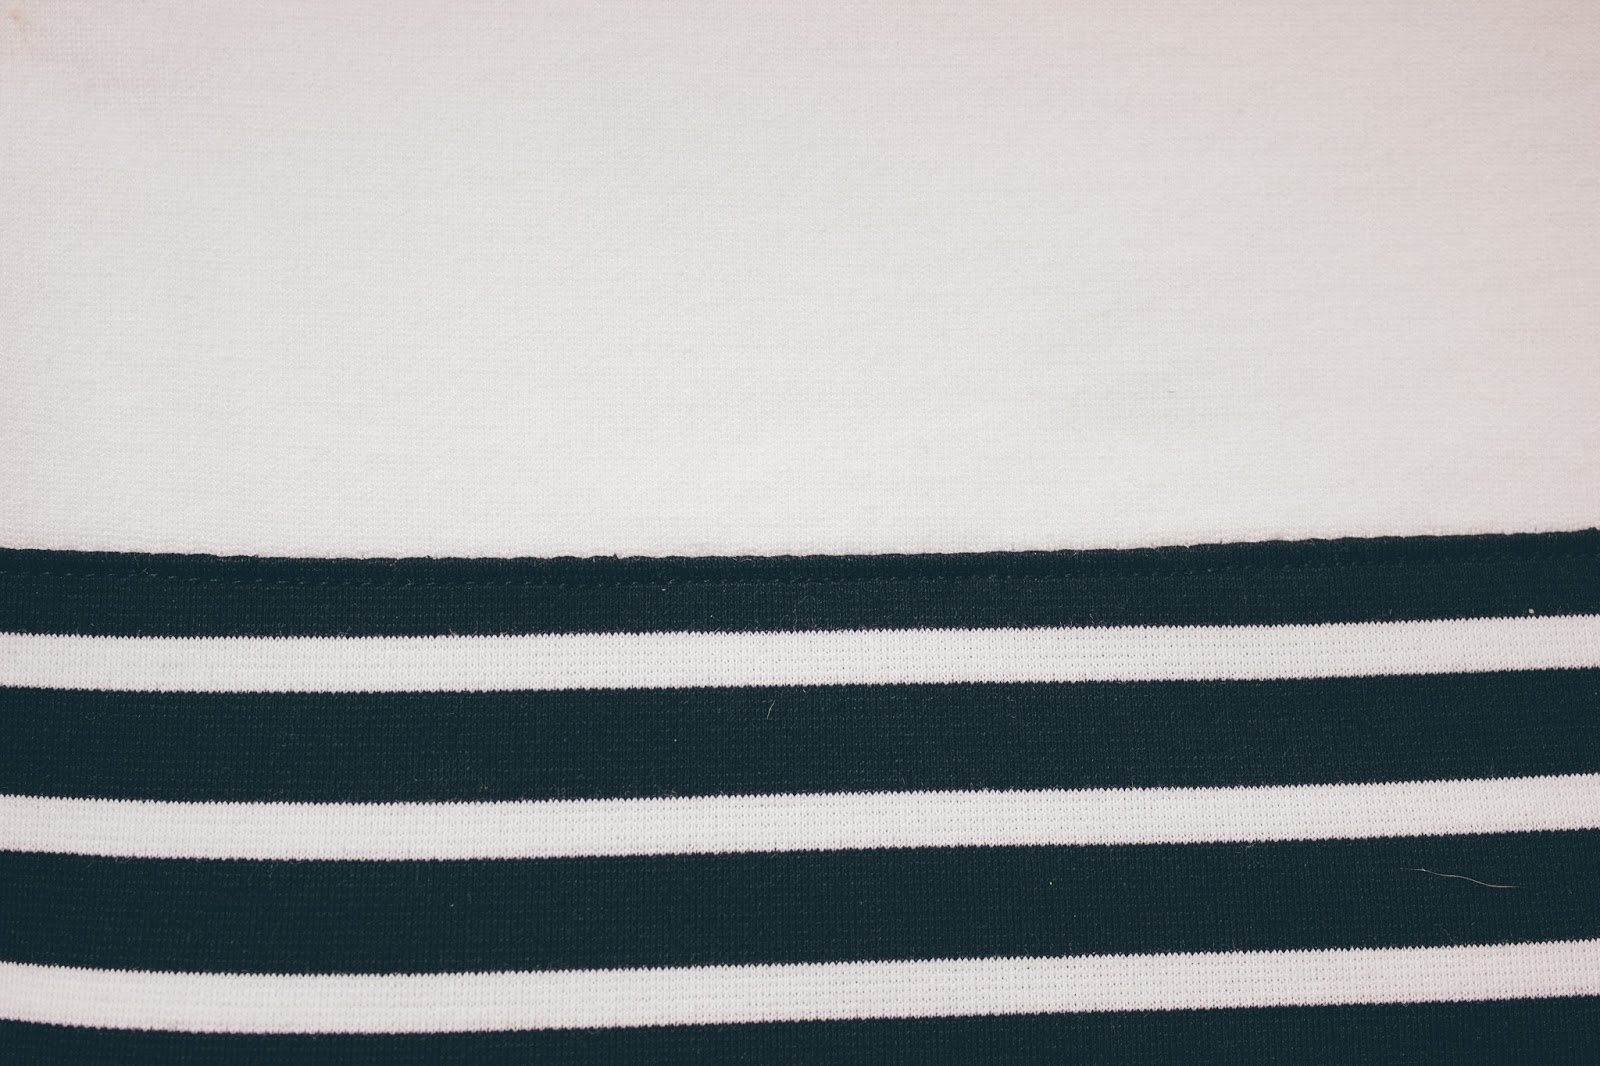
4) Simply sew your bust panel and lower body piece together and VOILÀ, your hack is complete! As a personal preference and because my seam wasn't lying entirely flay I decided to iron and topstitch the seam allowance down, towards the BW stripe fabric.


I am still tossing up whether or not I want to go ahead with any embellishments. I know hat if I do it won't be as busy as what was designed on the Marc Jacobs shirt, it will probably just be some kind of iron on patch. I will put some images below of the patches I am considering, let me know what your thoughts are!